Complete Guide to Home Automation Setup for Beginners
Setting up a home automation system might seem overwhelming at first, but it’s actually more accessible than you think. Whether you want to control your lights with your voice, monitor your home security from your smartphone, or create custom routines that make your daily life easier, home automation setup has become incredibly user-friendly and affordable in recent years.
I remember when I first started exploring smart home technology – I thought I’d need an engineering degree and thousands of dollars to get started. The reality? Most people can set up their first automated devices in under 30 minutes, and you can begin with a budget of just $50 to $100.
In this comprehensive guide, I’ll walk you through everything you need to know about home automation setup, from choosing the right ecosystem to installing your first devices and creating those satisfying automated routines that truly transform how your home works.
Understanding Home Automation Basics Before You Start
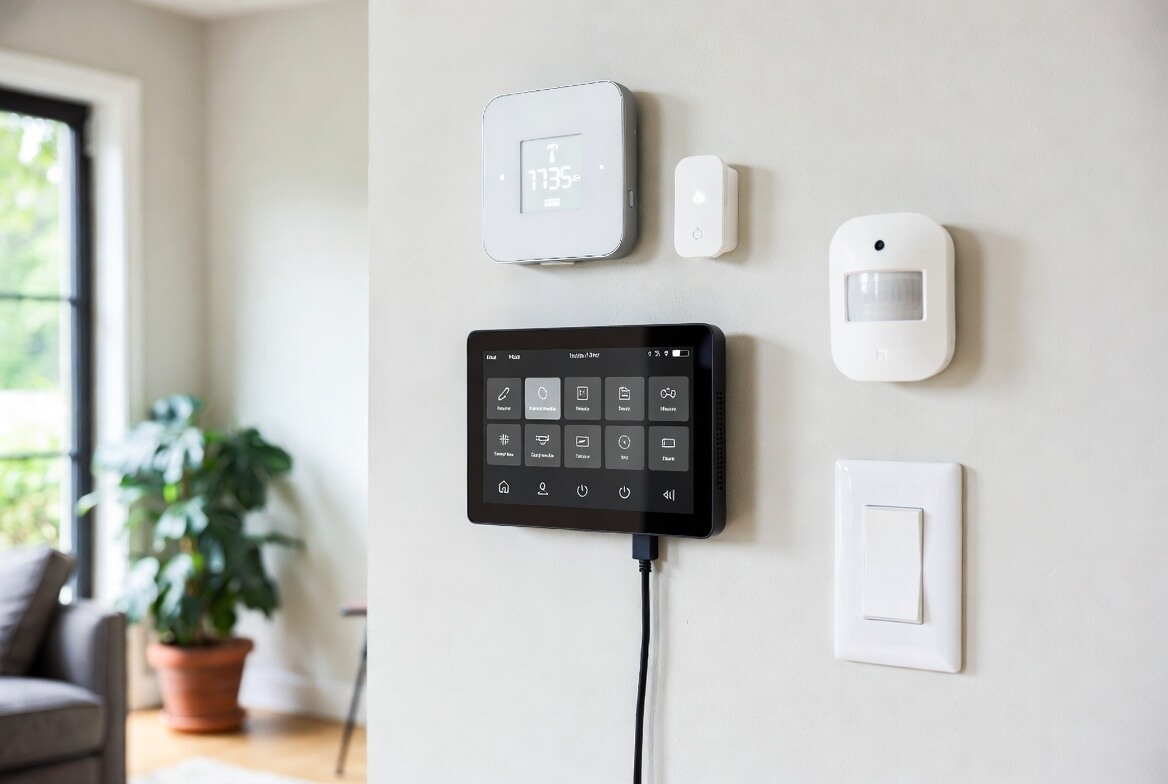
Before diving into purchasing devices, it’s essential to understand what home automation actually means. At its core, automated home systems connect various devices in your house through a central hub or smart assistant, allowing them to communicate and work together.
Think of it like building a team where each player has a specific role, but they all follow the same playbook. Your smart lights, thermostat, security cameras, and door locks can all coordinate their actions based on triggers you set up – like turning on lights when you arrive home or adjusting the temperature when you leave for work.
The three main components of any home automation setup include: smart devices (the individual gadgets like bulbs, plugs, or sensors), a control hub or smart assistant (like Amazon Alexa, Google Home, or Apple HomeKit), and the network that connects everything (usually your home WiFi). Getting these three elements working together is the foundation of a successful setup.
Most beginners find success by starting small with one or two device categories, then gradually expanding their system as they become more comfortable with the technology. This approach also spreads out the cost and lets you learn what works best for your specific needs.
Choosing Your Smart Home Ecosystem: The Most Important Decision
Here’s where many people get stuck – which ecosystem should you choose? This decision matters because it determines which devices will work seamlessly together and how you’ll control everything.
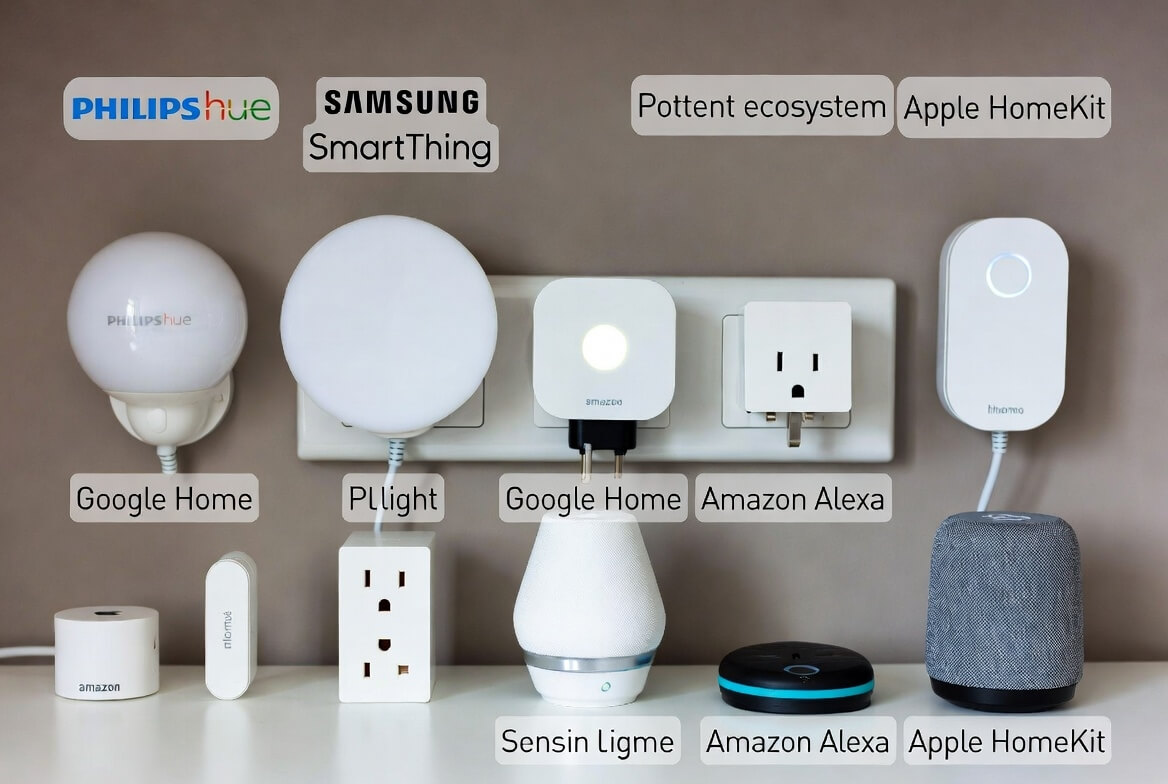
The three major players are Amazon Alexa, Google Home, and Apple HomeKit. Each has its strengths, and your choice often depends on what devices you already own and your priorities.
- Amazon Alexa: Offers the widest device compatibility with over 140,000 compatible smart home products. It’s budget-friendly, has excellent voice recognition, and works with nearly every smart device manufacturer. Best for those who want maximum flexibility and don’t mind Amazon’s ecosystem.
- Google Home: Excels at answering questions and integrating with Google services like Calendar, Maps, and YouTube. The voice assistant is incredibly accurate and natural-sounding. Ideal for Android users and those heavily invested in Google’s ecosystem.
- Apple HomeKit: Prioritizes security and privacy with end-to-end encryption. Devices must meet strict certification standards. Perfect for iPhone and iPad users who value data protection, though device selection is more limited and often pricier.
- Multi-Platform Approach: Many devices now support multiple platforms, so you’re not completely locked in. However, starting with one primary ecosystem makes setup simpler and ensures better integration between devices.
I initially chose Alexa because of the device compatibility, but I’ve seen friends have great success with Google Home’s superior voice recognition. The key is picking one and sticking with it for your core devices.
Consider your existing devices too. If you’re an iPhone user with several Apple products, HomeKit might feel more natural. Android users often prefer Google Home for the tighter integration with their phones.
Essential Devices for Your First Home Automation Setup
Now let’s talk about what to actually buy. You don’t need to automate everything at once – in fact, I strongly recommend against it. Start with devices that solve real problems in your daily routine.
Smart lighting is usually the best starting point because it’s affordable, easy to install, and provides immediate gratification. You can control lights with your voice, set schedules, or trigger them based on your location. Brands like Philips Hue, LIFX, and Wyze offer reliable options at various price points.
Smart plugs are another beginner-friendly option that costs around $10-25 each. These little devices turn any regular appliance into a smart one – coffee makers, fans, lamps, even holiday decorations. I use them for my coffee maker to start brewing before I wake up and for turning off electronics that draw power even when “off.”
For security-conscious homeowners, smart cameras and video doorbells provide peace of mind and are surprisingly easy to set up. Ring, Arlo, and Wyze all offer quality options. Most require minimal tools – typically just a screwdriver and about 20-30 minutes of your time.
Step-by-Step Home Automation Setup Process
Let me walk you through the actual setup process that works for most smart home devices. While specifics vary by manufacturer, the general pattern remains consistent.
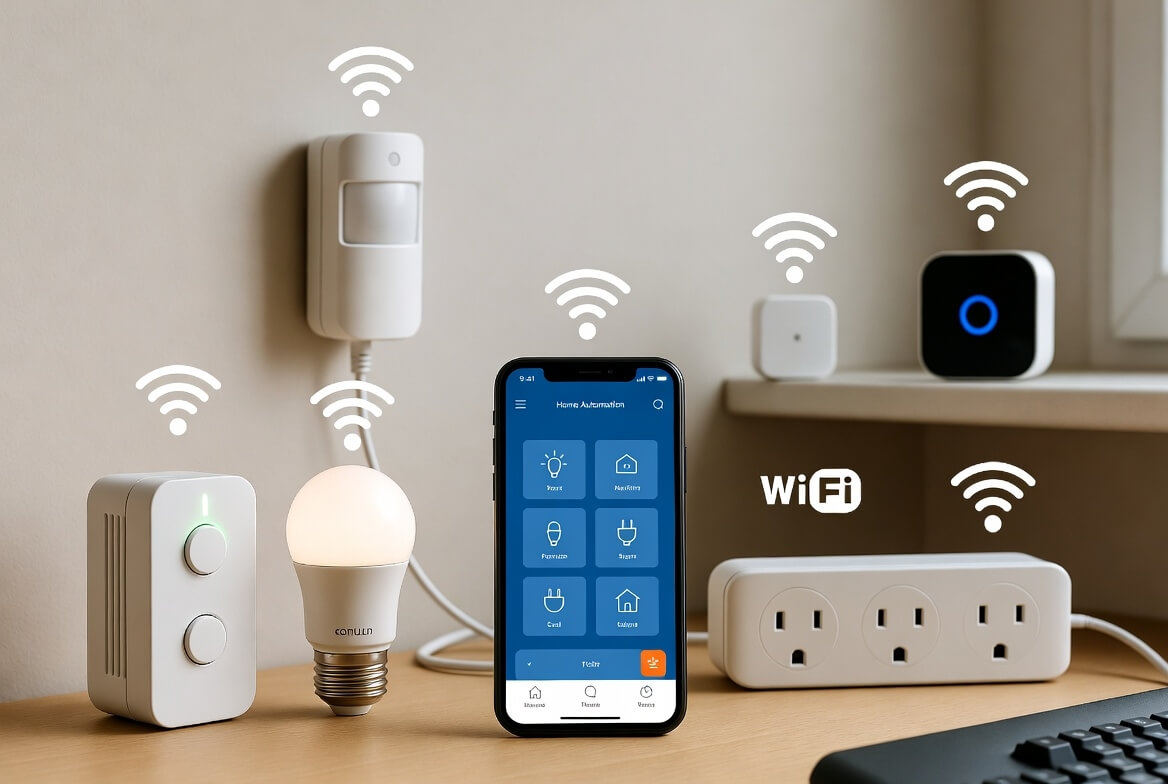
First, ensure your home WiFi is strong and reliable throughout the areas where you’ll place smart devices. Weak WiFi is the number one cause of frustration with home automation. If needed, consider WiFi extenders or a mesh network system before investing heavily in smart devices.
Next, install your chosen smart assistant if you haven’t already. Set up your Amazon Echo, Google Nest, or Apple HomePod and connect it to your WiFi network. Download the corresponding app on your smartphone – this becomes your central command center.
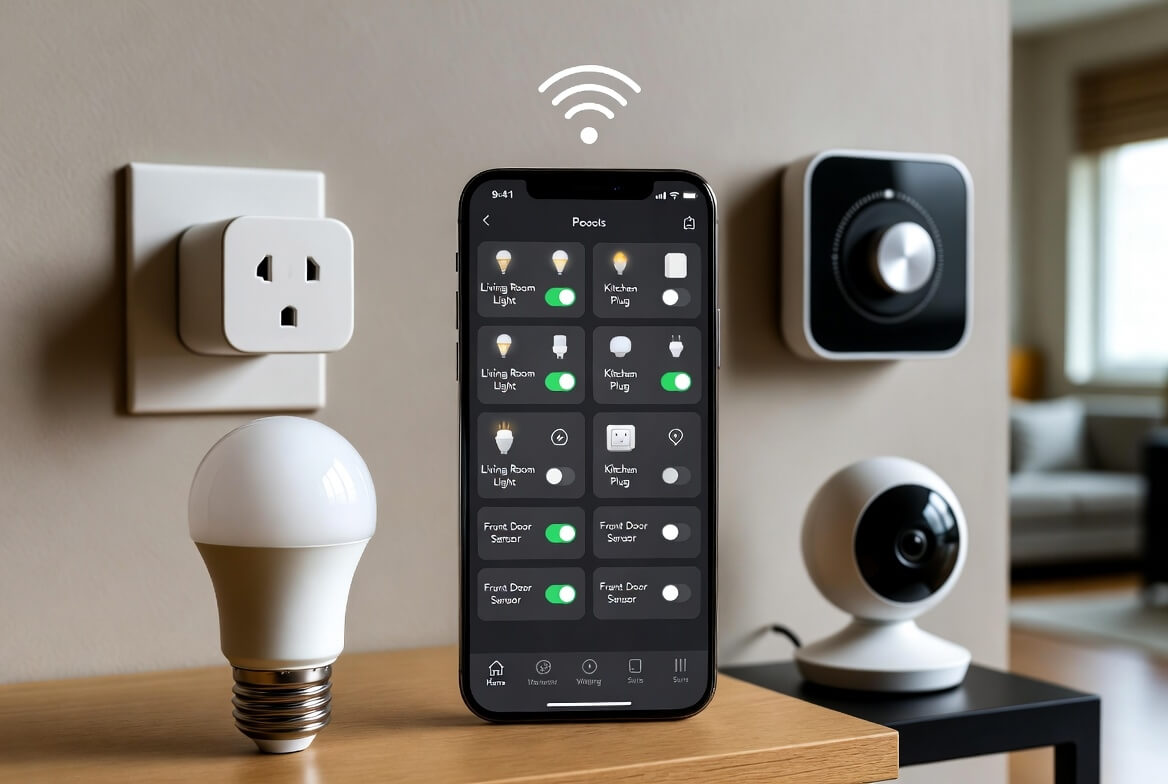
When setting up individual devices, follow this basic process: Download the manufacturer’s app, create an account, plug in or install the device, follow the in-app pairing instructions (usually involves pressing a button on the device), and then link the device to your smart assistant through the assistant’s app.
Name your devices thoughtfully – use simple, distinct names that you’ll remember when giving voice commands. Instead of “Living Room Light 1,” try “Floor Lamp” or “Reading Light.” This makes voice control much more intuitive.
Most modern devices connect to 2.4GHz WiFi networks, not 5GHz, which trips up some people. Check your router settings if you’re having connection issues, and temporarily disable 5GHz during setup if necessary.
Common Home Automation Setup Mistakes to Avoid
I’ve made plenty of mistakes setting up smart homes, and I’ve helped friends troubleshoot theirs too. Let me save you some headaches by sharing what not to do.
The biggest mistake is buying too many devices from different brands before establishing your ecosystem. This creates a fragmented system where some devices work together while others require separate apps. Start with one or two brands that are known for broad compatibility.
Another common error is neglecting network security. Change default passwords immediately, enable two-factor authentication wherever possible, and create a separate guest network for your smart devices if your router supports it. This protects your main network if a smart device gets compromised.
Many people also forget to update device firmware regularly. Manufacturers release updates that fix bugs and security vulnerabilities, but these won’t install automatically unless you enable that setting. Check for updates monthly or enable automatic updates in each device’s app.
Don’t place smart hubs or assistants too far from your devices. While WiFi reaches throughout your home, the hub often communicates with devices using protocols like Zigbee or Z-Wave that have shorter ranges. Keep your hub centrally located for the best performance.
Creating Automation Routines That Actually Make Life Easier
This is where home automation setup transforms from a fun tech project into something that genuinely improves your daily life. Routines let multiple devices work together automatically based on triggers you define.
A “Good Morning” routine might turn on bedroom lights gradually starting at 6:45 AM, start your coffee maker at 7:00 AM, read the weather forecast, and adjust the thermostat to a comfortable temperature – all without you touching a button. This is the kind of convenience that makes smart homes worthwhile.
Evening routines work beautifully too. “Goodnight” can lock all smart locks, turn off lights throughout the house, set the thermostat to sleep mode, and arm security cameras. One voice command or scheduled time triggers everything.
Location-based automations use your phone’s GPS to trigger actions. When you leave home, the system can turn off lights, adjust the thermostat to energy-saving mode, and activate security cameras. When you return, it can unlock the door, turn on lights, and play your favorite music.
Start simple with one or two routines, test them for a week, then refine and expand. The real power comes from finding the routines that eliminate repetitive tasks from your day.
Troubleshooting Your Home Automation Setup
Even with careful setup, you’ll occasionally encounter issues. Knowing how to troubleshoot quickly keeps frustration to a minimum.
When a device stops responding, the first step is always the classic: unplug it for 30 seconds, then plug it back in. This simple reboot solves about 80% of connectivity issues. If that doesn’t work, check if your WiFi is functioning properly – most smart home problems trace back to network issues.
If voice commands aren’t working, verify that you’re using the exact device name you assigned during setup. Voice assistants are literal and won’t recognize variations. Also ensure your smart assistant’s microphone isn’t muted – easy to overlook but happens more often than you’d think.
For devices that won’t connect initially, make sure you’re on your 2.4GHz WiFi network during setup, your phone’s location services are enabled (some apps require this), and you’re within 10-15 feet of the device during pairing.
Keep a simple troubleshooting document with device-specific reset procedures and WiFi passwords. When something goes wrong at 11 PM, you’ll be glad you have this reference handy.
Expanding Your Home Automation System Over Time
Once you’ve mastered the basics, you can gradually add more sophisticated devices and integrations to create a truly comprehensive automated home.
Smart thermostats like Nest or Ecobee learn your temperature preferences and can save 10-23% on heating and cooling costs according to manufacturer data. They’re more complex to install than smart bulbs, but most people can handle it with basic tools, or you can hire an HVAC professional for about $100-150.
Smart locks provide keyless entry and the ability to grant temporary access to guests or service providers. Integration with your home automation setup means they can unlock automatically when you arrive home or lock when your bedtime routine runs.
Advanced users often explore home automation hubs like Samsung SmartThings or Hubitat, which enable more complex automations and support devices from many different manufacturers. These require more technical knowledge but offer significantly more control and customization.
Consider adding smart sensors for doors, windows, motion, and water leaks. These inexpensive devices (usually $20-40 each) trigger powerful automations and enhance security monitoring. A water leak sensor in your basement, for instance, can alert you immediately and potentially save thousands in water damage.
Budget Planning for Home Automation Setup
Let’s talk money because home automation costs can vary dramatically depending on your ambitions. The good news is you can start small and expand gradually.
A basic starter setup with a smart assistant ($30-50), two smart bulbs ($30-60), and two smart plugs ($20-40) runs about $80-150 total. This gives you enough devices to experience the benefits without breaking the bank.
An intermediate setup adding a smart thermostat ($130-250), smart lock ($100-300), and video doorbell ($100-200) brings your total investment to $410-900. This covers the most impactful areas of home automation.
Advanced whole-home automation with comprehensive lighting, multiple cameras, smart appliances, and professional installation can exceed $3,000-10,000. Most people never need this level of investment unless building a custom smart home from scratch.
Watch for deals during Black Friday, Prime Day, and other major sales events – smart home devices often see discounts of 30-50%. I’ve built most of my system by purchasing during these sales, saving hundreds compared to retail prices.
Conclusion
Home automation setup is more accessible than ever, and you don’t need to be a tech expert to create a smart home that genuinely improves your daily life. Start with one ecosystem, choose a few devices that solve real problems for you, and gradually expand as you discover what works best.
The key is patience and starting small. Don’t feel pressured to automate everything immediately. Focus on quality over quantity, ensure strong WiFi coverage, and take time to create meaningful routines rather than just collecting smart devices.
Remember that the goal isn’t to have the most devices – it’s to make your home more comfortable, convenient, and secure. A well-planned home automation setup with just five thoughtfully chosen devices beats a haphazard collection of twenty gadgets that don’t work together seamlessly. Take your time, enjoy the process, and welcome to the future of smart living.
🛒 Recommended Products for Home Automation Setup
Based on the home automation setup discussed in this article, we’ve curated a selection of top-rated products that deliver exceptional performance and value. These recommendations are carefully chosen to help you implement the solutions that best fit your needs and budget.